Authorization Code Tutorial
In this section you will learn how to try an API using the Postman collections from the API reference documentation, in an Authorization Code OAuth2 grant flow.
Prerequisites
To run this tutorial you need:
- A recent installation of Postman on your computer.
- A valid FusionCreator account.
- An application on the portal registered with the APIs that you want to try.
When you add an IP to your application whitelist, you allow only the requests made using that IP to interact with your application. If you completed IP Whitelist section while you registered your application on FusionCreator, you must follow the Postman tutorials from an IP that is available on the list. The following formats are supported: IPv4 for IPs and IPv4 CIDR for IP ranges.
Postman Tutorial
To import the Postman collections from the API reference documentation
- From the API reference documentation, click Actions, and then select Download Postman collection. The Postman collection JSON definition file is downloaded to your computer.
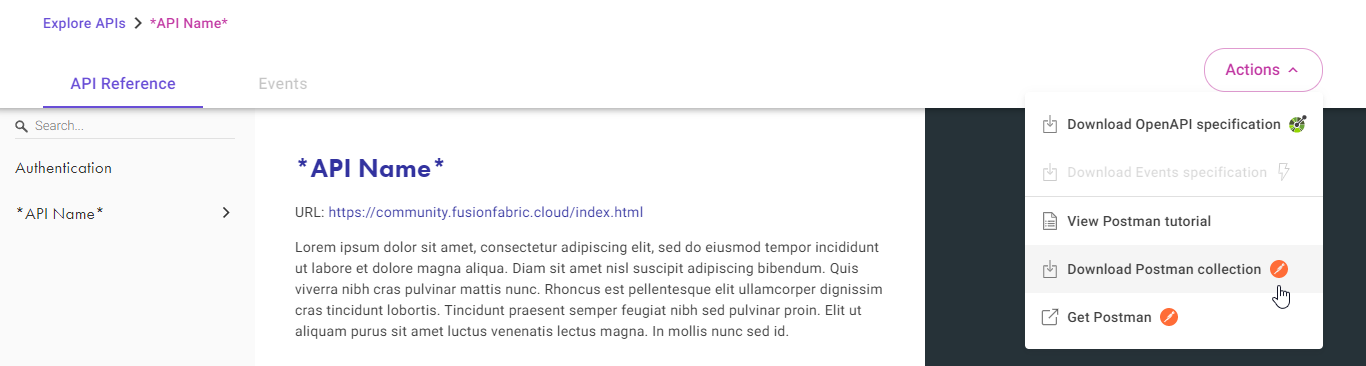
Download the Postman collection from the API reference documentation.
- Launch Postman.
- (Optional) Close the start-up panel.
- From the toolbar, click Import.
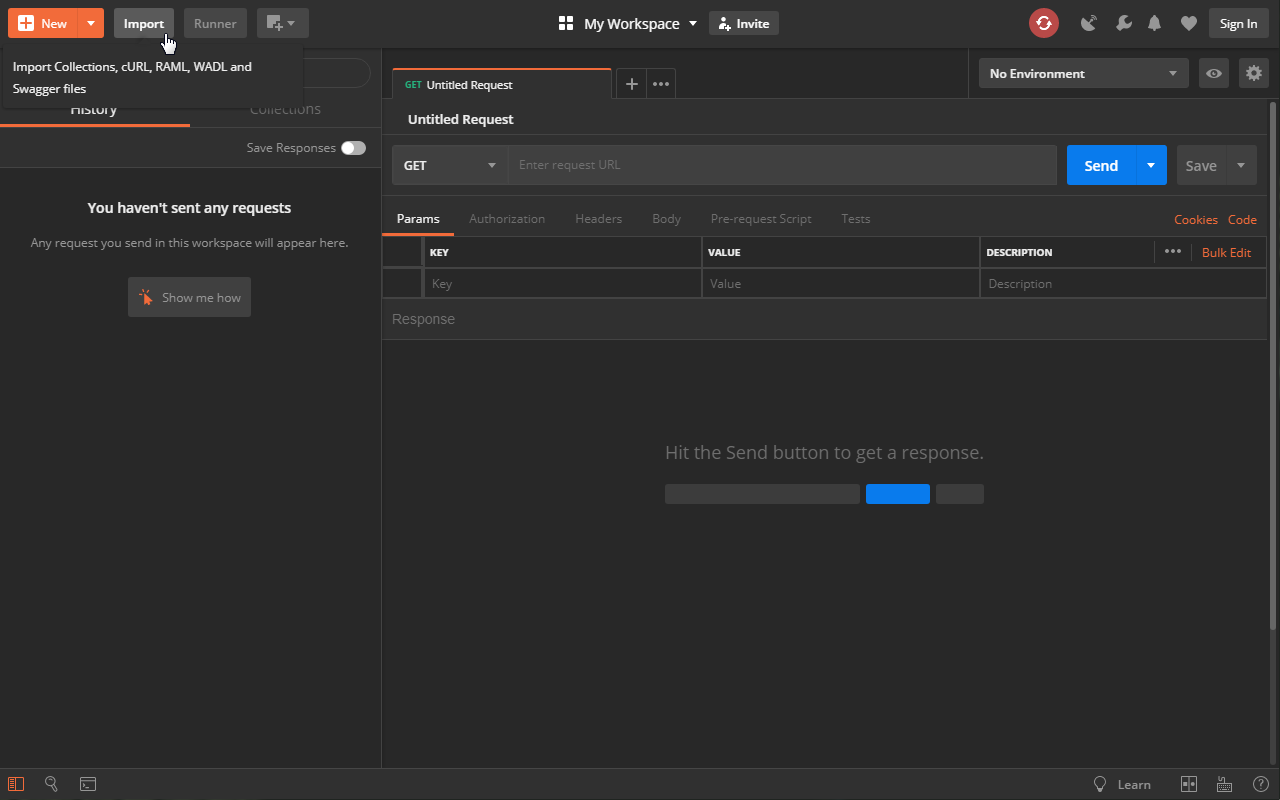
Import a Postman collection.
- On the IMPORT dialog box, select Import file.
- Click Chose Files, browse to the location where you saved the file at the step 1, and select it. The collection is imported, and the requests are listed under the Collections tab.
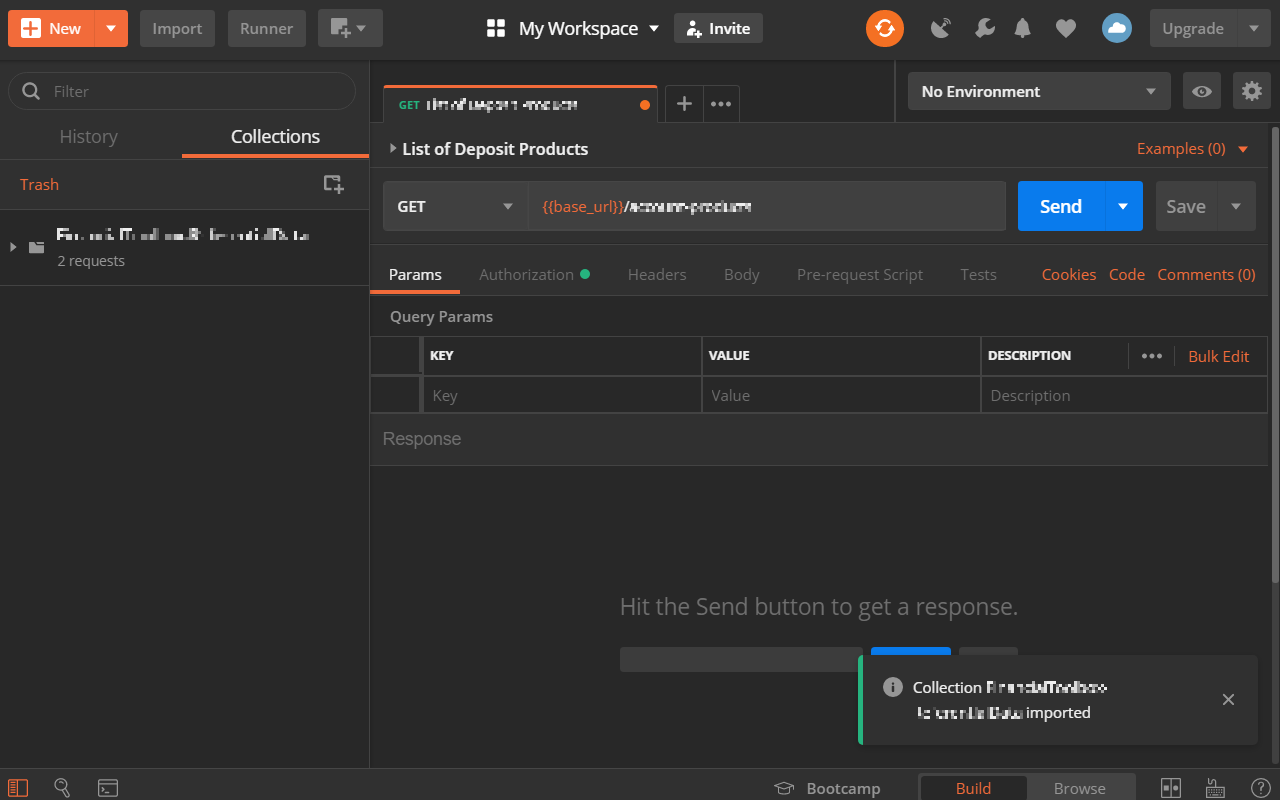
A Postman collection is imported.
To retrieve the access token from the Authorization Server
- From the Collections section, select a request that you want to test.
- In the Authorization section, open the TYPE menu and select
OAuth2from the list.
- Click Get New Access Token. The GET NEW ACCESS TOKEN form opens.
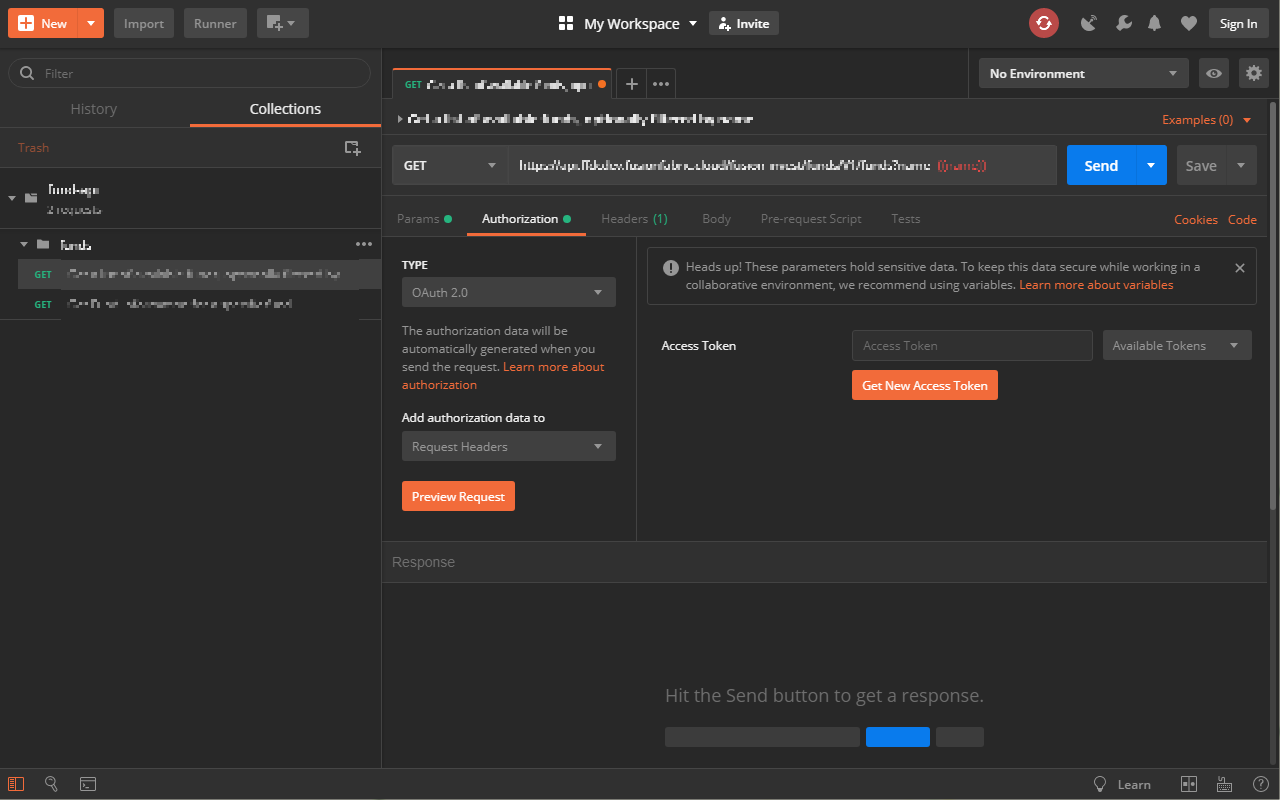
Import a Postman collection.
- Fill in the GET NEW ACCESS TOKEN form as follows:
- Token Name
- A name for the token, that is relevant to you.
- Grant Type
- Select
Authorization Code. - Callback URL
- One of the Reply URLs that you registered for your application, on FusionCreator.
- Auth URL
The
authorization_endpointof the Discovery Service.authUrl- Access Token URL
The
token_endpointof the Discovery Service.tokenUrl- Client ID
- The Client ID of your application.
- Client Secret
- The Secret Key of your application.
- Scope
- Enter
openid - Client Authentication
- Select
Send as Basic Auth Header
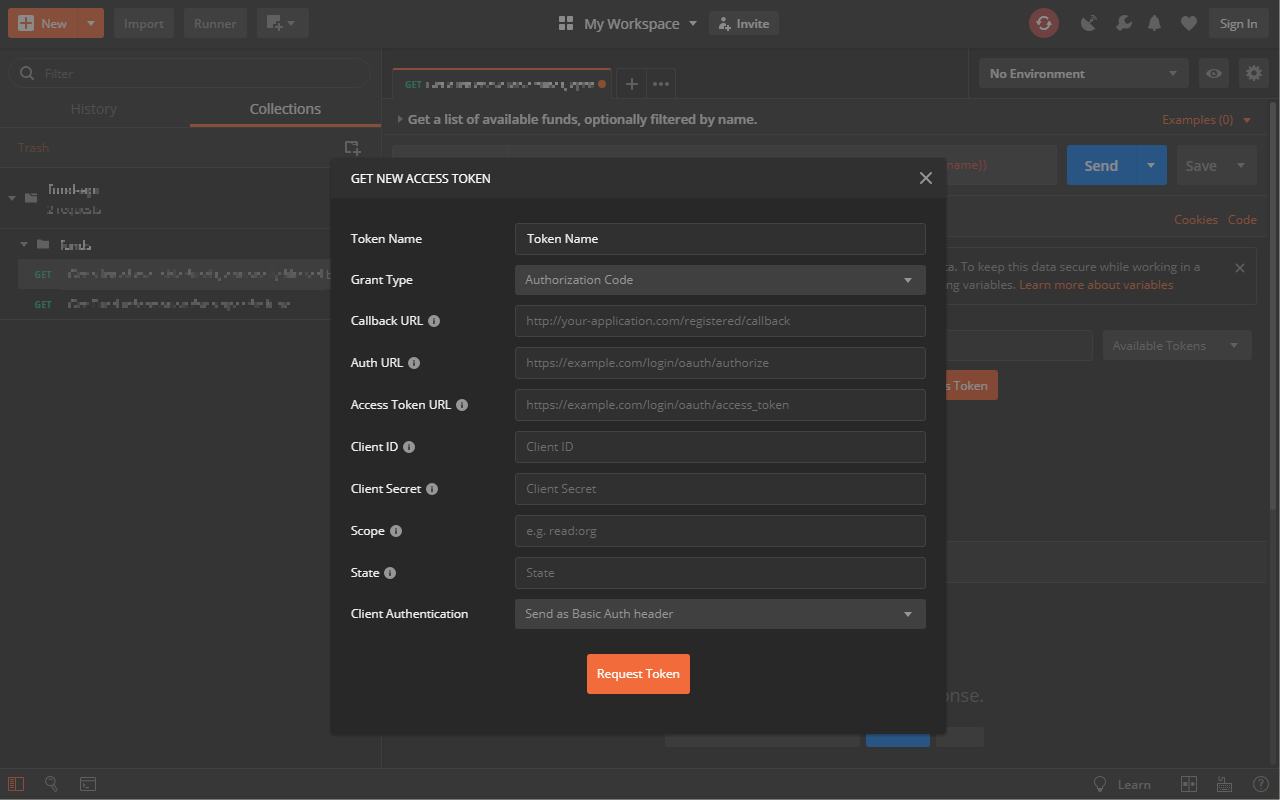
The GET NEW ACCESS TOKEN form for an HTTP request, in the Authorization Code Grant Flow, with Postman.
- Click Request Token. You are redirected to the authentication page of FusionFabric.cloud Authorization Server.
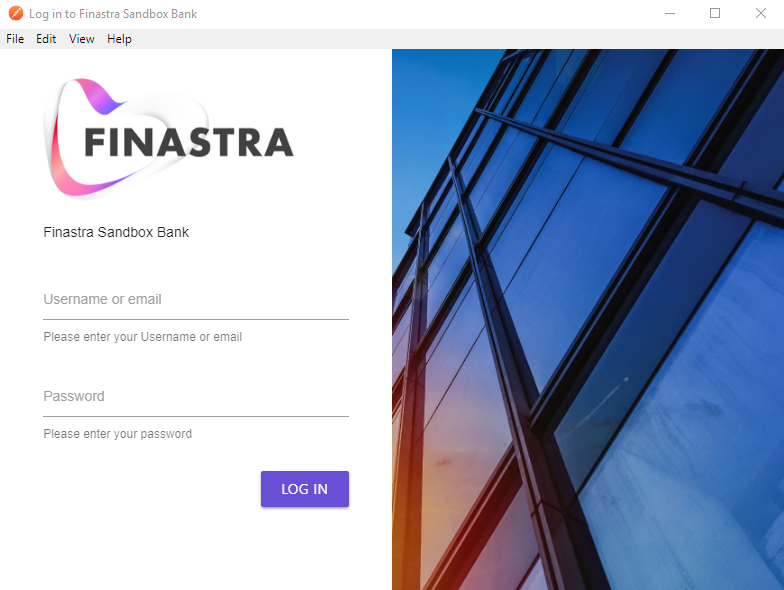
The authentication page of FusionFabric.cloud Authorization Server.
- Use one of the following pair of credentials to log in:
| User | Password |
|---|---|
ffdcuser1 |
123456 |
ffdcuser2 |
123456 |
- Click Log in. The Access Token is retrieved from the Authorization Server, and saved with the name you provided.
- (Optional) Scroll down the window, and click Use Token. The token is added to the HTTP request where you initiated the authorization request.
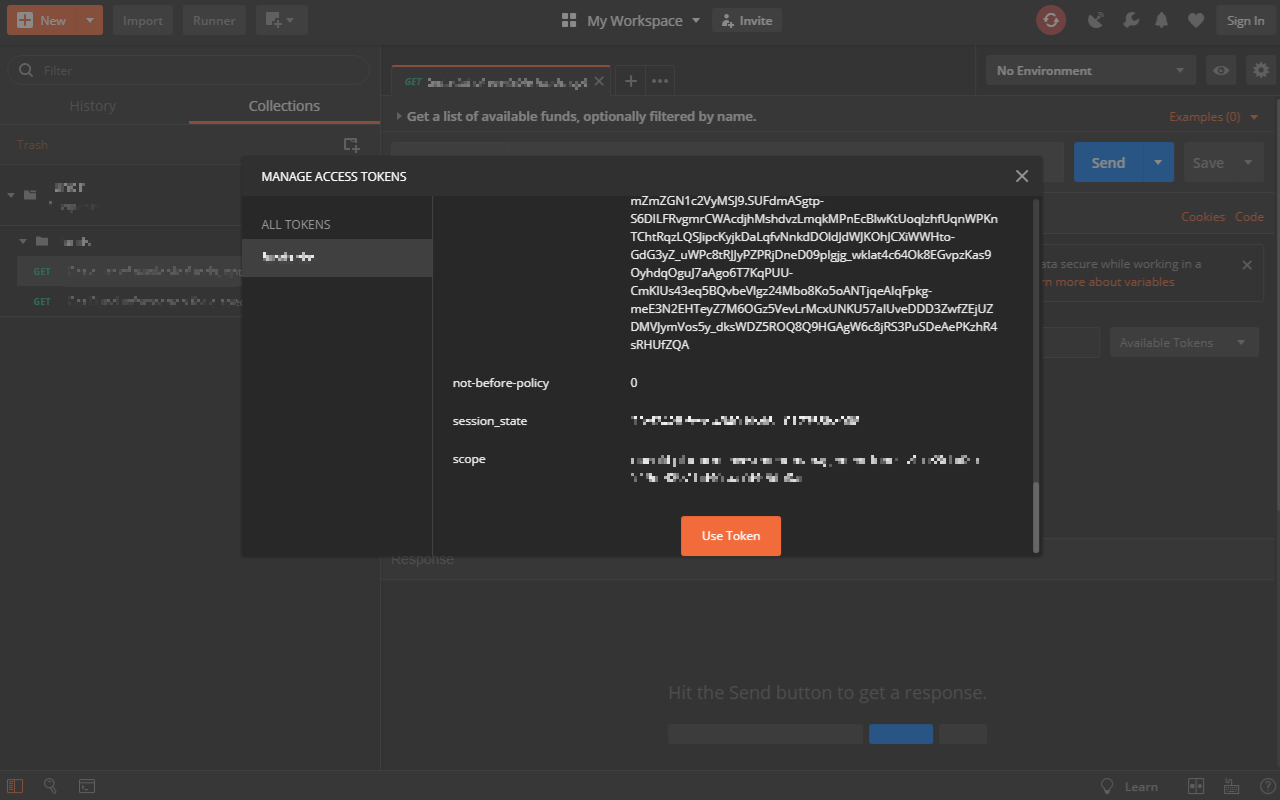
The Access Token is retrieved from the Authorization Server.
To call an API endpoint with the Authorization Token
- From the collection that you downloaded and opened in Postman, select a request.
- In the Authorization section, open the TYPE menu and select
OAuth2from the list. - Open the Available Tokens menu and select a saved token. The token will be added to your selected API request.
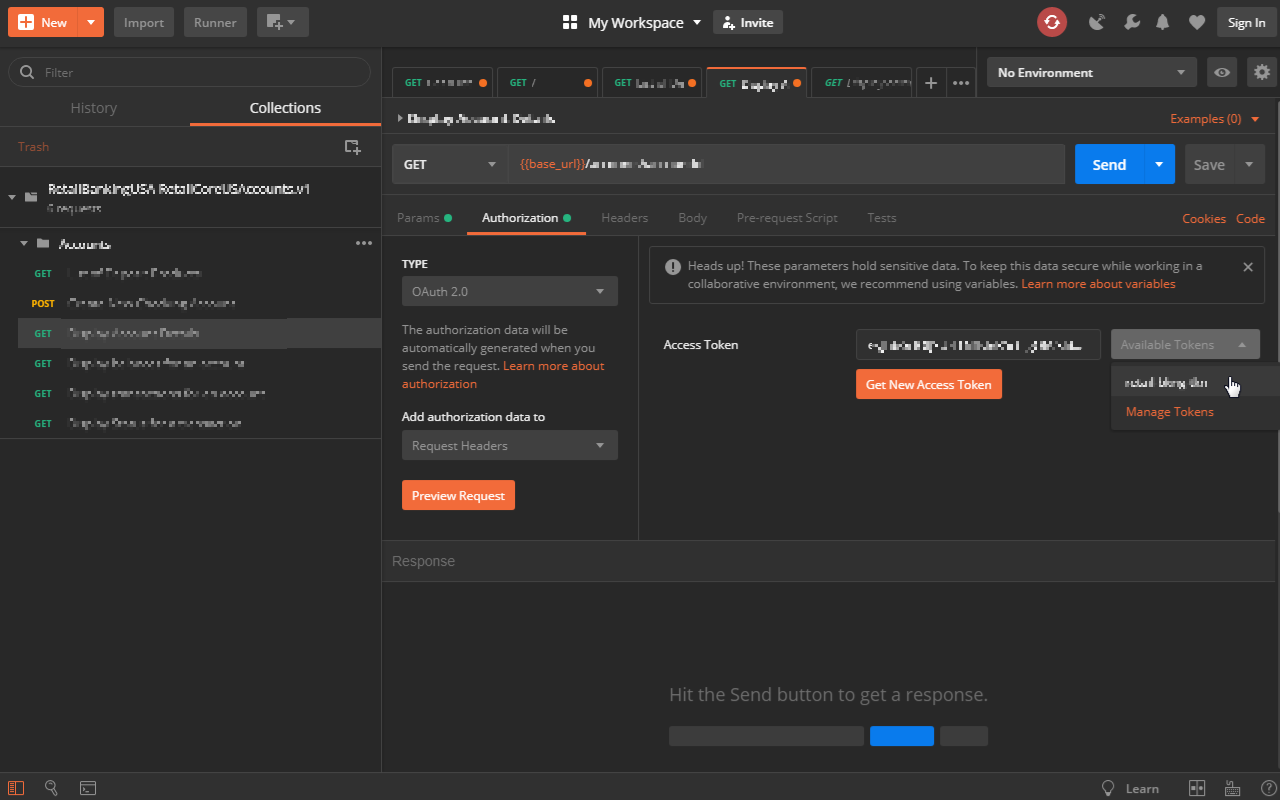
Select a previously retrieved Access Token
- Click Send. The request is sent to the API, and the response is retrieved and displayed in the main window.
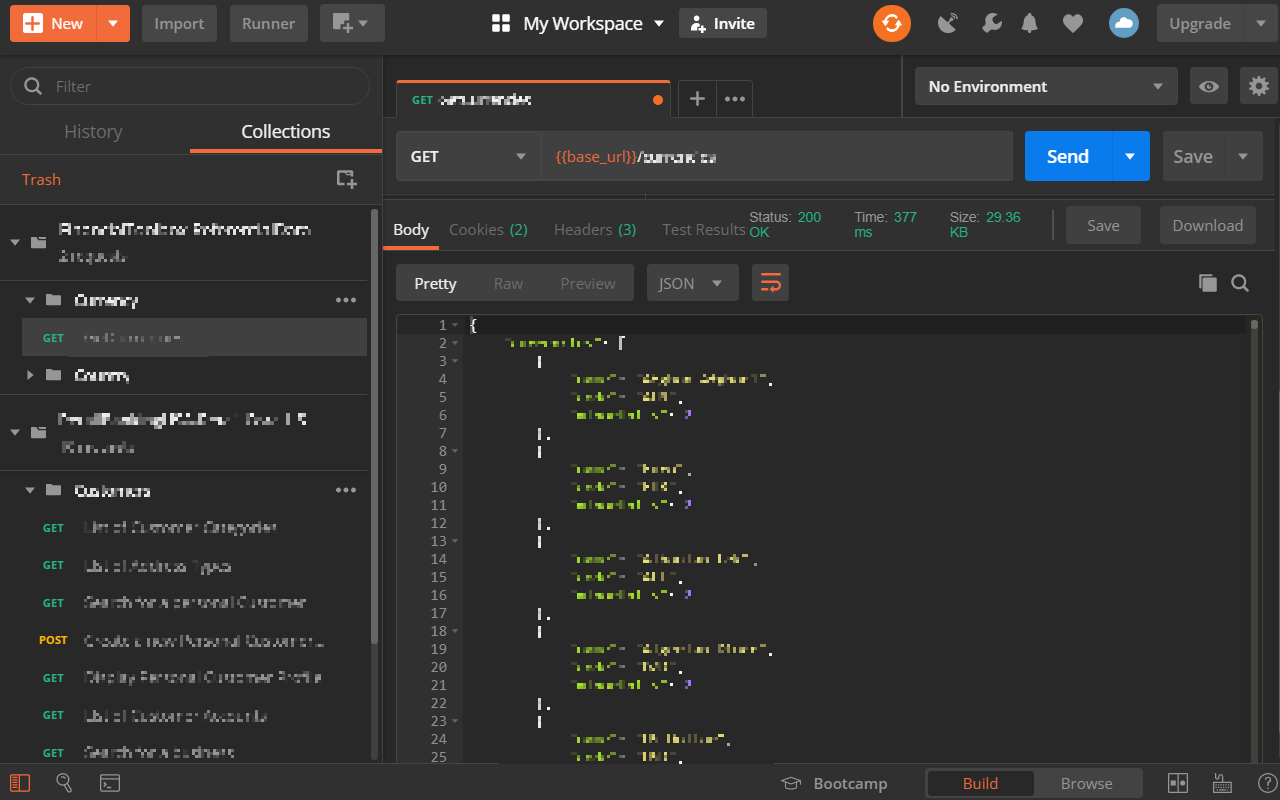
The response retrieved from an FusionFabric.cloud API endpoint